
FlutterFlow: Complete Beginner's Guide 2026

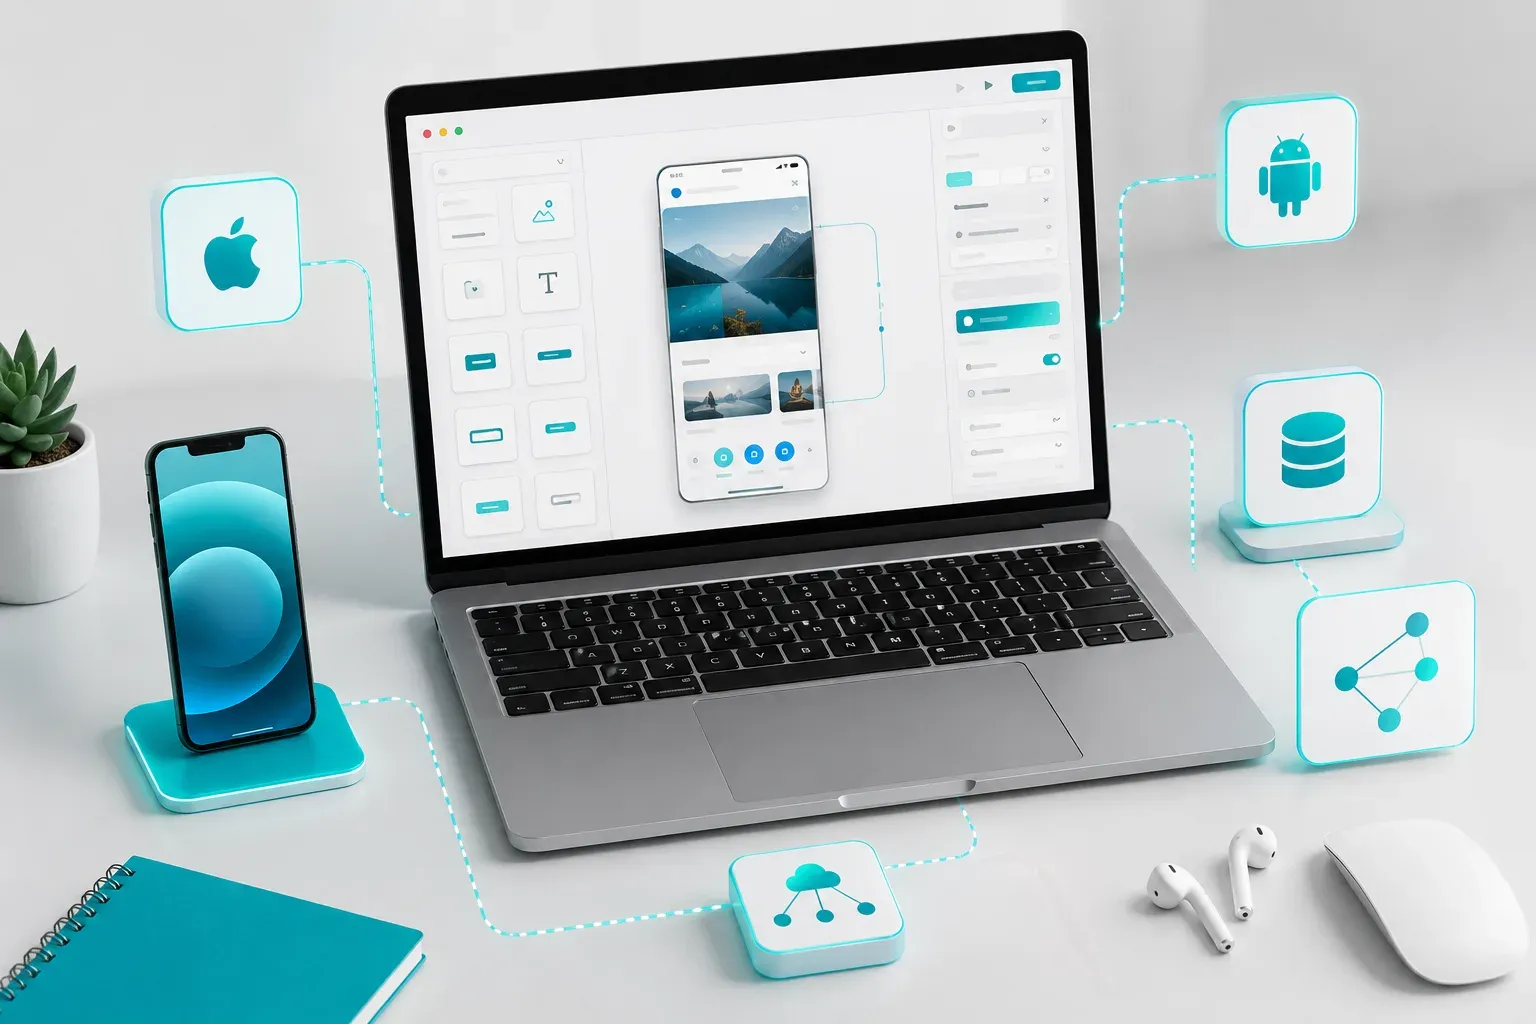
FlutterFlow is a visual app builder that lets you design, connect, and ship mobile apps without writing most of the code yourself. It runs in a browser, generates clean Flutter code under the hood, and exports a full codebase you actually own. Since its launch, it has grown from a niche tool for non-technical founders into the platform of choice for product teams, agencies, and startups that want to move faster without sacrificing the quality of a native app.
According to FlutterFlow's official platform, the builder now serves over 500,000 registered users globally and powers apps across iOS, Android, and web from a single project. The platform has matured well past the prototyping stage — production apps handling real users and real data are now a realistic output, not just MVPs. If you're new to it, the learning curve is shorter than traditional development but steeper than most people expect from a no-code tool.
This guide covers everything a beginner needs: what FlutterFlow is, how it works, what you can build, its core features, its limitations, where to learn it, common mistakes to avoid, and when it makes more sense to work with a FlutterFlow development company rather than build alone. No prior coding experience required to follow along.
- FlutterFlow is a visual no-code/low-code builder that generates real Flutter code — not a locked-in proprietary runtime.
- You can deploy iOS, Android, and web apps from a single FlutterFlow project without switching tools or codebases.
- FlutterFlow connects natively to Firebase, Supabase, REST APIs, and custom backends with no connector code required.
- Paid plans start at $30/month. Publishing to app stores requires a paid plan; the free tier is enough to learn and prototype.
- For complex apps, custom integrations, or production launches, combining FlutterFlow with experienced developers delivers significantly better results than solo builds.
TRT's FlutterFlow team has shipped production apps for founders and enterprises across the US, UK, and UAE. Tell us what you're building →
Quick answer: FlutterFlow is a visual, low-code builder that turns drag-and-drop design into real Flutter apps for iOS, Android, and web. Beginners can build a working app without coding, then add custom code, APIs, and a backend as the app grows.
What is FlutterFlow? The No-Code Builder Explained
FlutterFlow is a web-based visual development platform built on top of Google's Flutter framework. You design app screens by dragging and dropping UI components, wire up navigation and logic using a visual editor, connect to databases and APIs through built-in integrations, and then either publish directly or export the full Flutter codebase to continue development in your own editor.
The key distinction between FlutterFlow and most other no-code platforms is the output. When you build in FlutterFlow, the platform generates actual Dart and Flutter code as you work. That code compiles to a true native app on iOS and Android — not a web wrapper or a JavaScript-based hybrid. This is why apps built in FlutterFlow perform and feel like native apps: because structurally, they are.
How FlutterFlow Works Under the Hood
Every widget you drag onto the FlutterFlow canvas corresponds to a real Flutter widget in the generated codebase. Properties you set in the visual editor — padding, alignment, fonts, colors — are written directly into Dart code.
When you export, you receive a complete Flutter project that you can open in VS Code or Android Studio and continue building without any proprietary lock-in. According to FlutterFlow's official documentation, exported code follows standard Flutter conventions and works with the Flutter SDK directly.
FlutterFlow vs Traditional App Development
Building a mobile app the traditional way means writing Dart code, setting up your development environment, managing dependencies, and configuring build pipelines for iOS and Android. For a solo founder or a small team without a mobile developer, that path can take months before anything is testable. FlutterFlow compresses that timeline. Most beginners ship their first working prototype in days, not months — though the exact timeline depends heavily on the app's complexity and the builder's familiarity with data modelling.
The tradeoff is real: certain types of complex logic, custom native integrations, or highly specific UI behaviour still require dropping into code. That's where the FlutterFlow vs Flutter comparison becomes relevant — FlutterFlow is faster to start; raw Flutter code gives you more control when you need it.
Who Uses FlutterFlow?
Three distinct groups build with FlutterFlow for meaningfully different reasons:
- Non-technical founders — validate product ideas and ship testable MVPs without hiring a mobile developer on day one. FlutterFlow removes the technical bottleneck that kills most early-stage apps before they reach users.
- Product managers and designers — create high-fidelity, functional prototypes that go beyond static Figma mockups. These prototypes connect to real data, respond to real user input, and can be handed to developers as a working spec.
- Developers and agencies — accelerate early-stage work, handle UI-heavy components faster, or deliver client MVPs in weeks instead of months. A team that ships in three weeks instead of three months using FlutterFlow has a direct pricing and pipeline advantage.
The benefits of FlutterFlow for app development are strongest in fast-turnaround, cost-sensitive contexts — which is most early-stage work.
FlutterFlow Platform: Core Features Every Beginner Should Know
Before building anything, it helps to understand what the FlutterFlow platform gives you out of the box. The feature set has grown substantially since early versions, and knowing what exists saves you from trying to build something that is already available.
Visual UI Builder
The canvas is where you spend most of your time. You add widgets from a sidebar panel — buttons, text fields, images, lists, containers, custom components — and position them on screen. Each widget has a properties panel where you set styling, padding, alignment, fonts, colours, and behaviour.
The widget tree below the canvas shows the full hierarchy of your UI. This becomes critical when you have nested layouts — when something isn't aligning or scrolling correctly, the answer is almost always in the widget tree, not the visual canvas. Learning to read and edit the widget tree early separates FlutterFlow beginners who make fast progress from those who spend days fighting layout bugs.
For anything not in the built-in library, you can write a custom widget in Dart or install a package directly from pub.dev through the platform's package manager.
Backend Integrations
FlutterFlow's most practically useful feature for beginners is how it handles backend connections. Supported integrations include:
- Firebase Firestore — real-time database with direct UI data binding
- Firebase Authentication — email/password, Google Sign-In, Apple Sign-In out of the box
- Supabase — PostgreSQL-backed alternative with row-level security support
- REST APIs — any HTTP endpoint with JSON responses, no connector code required
- GraphQL APIs — query-based data fetching for APIs that support it
- Stripe — payment processing without custom integration code
- Custom backend services — connect any backend via REST with manual schema definition
The platform generates all data-fetching and state management code automatically. Read more about the full range of FlutterFlow integrations available for backend, payments, and third-party services.
Actions and Logic
App logic in FlutterFlow runs through "Actions" — a visual workflow system that defines what happens when a user taps a button, submits a form, or navigates to a screen. Actions can:
- Call API endpoints and process the response
- Write, read, or update Firestore documents
- Navigate between pages or open a bottom sheet
- Show or hide UI components conditionally
- Trigger animations or haptic feedback
- Execute custom Dart functions you write yourself
- Chain multiple operations in sequence with conditional branching
Simple actions are straightforward. Conditional logic, looping over data, and chained async operations get complex fast. Anything with real business logic depth is often easier to write as a custom Dart function than to build entirely through the visual editor — and that's a feature, not a limitation.
State Management
FlutterFlow handles three levels of state, each scoped to a different part of your app:
- App State — global variables available across every screen (e.g., logged-in user ID, cart count)
- Page State — variables scoped to a single screen (e.g., whether a dropdown is open)
- Component State — variables scoped to a reusable widget (e.g., whether a card is expanded)
For most beginner projects, App State covers the majority of needs. You define variables, update them through Actions, and bind them to UI components. The platform handles reactivity automatically.
Theming and Design System
You define colours, typography, and border radius settings once in the Theme panel, and they apply across every screen. This makes global design changes fast and keeps your app visually consistent from the start. FlutterFlow supports dark mode at the theme level, so you handle it in one place rather than screen by screen.
TRT's FlutterFlow team has shipped production apps for founders and enterprises across 3 continents. Get an honest scope →
FlutterFlow for Beginners 2026: Getting Started Step by Step
Here is the practical path from zero to a working FlutterFlow app. This follows the order a beginner should use — not the order FlutterFlow's own onboarding suggests.
Steps 1–4: Setup and Data Foundation
- Create your account and choose a template. Go to flutterflow.io and sign up for a free account. Start from a template rather than a blank project. Templates give you working examples of navigation, data binding, and authentication flows you can learn from before building your own.
- Set up your Firebase project. Most FlutterFlow apps use Firebase as the backend. Create a project at console.firebase.google.com, enable Firestore and Authentication, then connect it to FlutterFlow through the Settings panel. FlutterFlow walks you through the configuration steps.
- Define your data structure. In Firestore, create the collections your app needs before building any screens. If you're building a task manager, create a "tasks" collection. If it's a marketplace, create "products" and "users" collections. Getting your data model right early prevents painful rework later.
- Build one screen — not all of them. Start with the core screen your app is about. Wire it to real data and make it functional before moving to secondary screens. Most beginners try to build everything at once and end up with nothing working properly.
Steps 5–7: Auth, Testing, and Publishing
- Add authentication. FlutterFlow has built-in Firebase Auth support for email/password, Google Sign-In, and Apple Sign-In. Enable it in Authentication settings and use the pre-built auth pages as your starting point. Do not build auth from scratch as a beginner.
- Test on a real device. Use FlutterFlow's Test Mode to preview in the browser, then download the app to your phone using TestFlight (iOS) or the Android APK download. Testing on actual hardware reveals issues the browser preview always misses — font rendering, scroll performance, safe area handling, keyboard behaviour.
- Publish or export. On a paid plan, publish directly to the App Store and Play Store from FlutterFlow. Alternatively, export the full Flutter codebase and continue in VS Code or Android Studio for custom functionality. For teams building a first version, the guide to building an MVP with FlutterFlow covers scoping the right first version.
What You Can Build With FlutterFlow — and What You Cannot
FlutterFlow's capabilities have grown with every release. The platform now supports AI-assisted layout suggestions, an improved component system, and expanded API tooling. But meaningful constraints still exist, and beginners should understand them before committing the platform to a specific project.
What FlutterFlow Handles Well
FlutterFlow is the right tool for these app categories:
- Data-driven apps — marketplaces, directories, booking systems, dashboards, admin panels
- Social features — user profiles, activity feeds, messaging with Firebase or Supabase
- Content apps — news, blog readers, course delivery, document viewing
- E-commerce flows — product catalogues, cart, checkout with Stripe integration
- Internal tools — company dashboards, approval workflows, field data collection
- Multi-platform publishing — ship one codebase to iOS, Android, and web simultaneously
The platform works best when your backend is Firebase or a well-documented REST API. If your data structure is clean and your API returns predictable JSON, FlutterFlow can wire it to your UI in minutes. For a broader look at how FlutterFlow stacks up against web-first no-code tools, see the FlutterFlow vs Bubble comparison.
Where FlutterFlow Has Limits
FlutterFlow is not the right tool for every project. Avoid it for:
- Highly custom animations — complex physics-based or procedural animations still require custom Dart
- Native device integrations — Bluetooth, NFC, background location, and deep OS hooks need raw Flutter code
- Complex business logic — multi-step conditional workflows with many branches become hard to maintain visually
- Performance-intensive apps — games, AR experiences, and real-time video processing
- Large team collaboration — version control and merge conflict resolution are limited compared to code-based workflows
These aren't always blockers — they mean you'll write custom Dart rather than use the visual editor. At that point you're in low-code territory, not no-code, and the skill requirement shifts. If your project touches several of these categories, the decision between self-building versus working with a FlutterFlow agency or freelancer becomes much more important.
FlutterFlow Pricing in 2026: Plans Compared
FlutterFlow has a free tier that lets you build and test apps but does not allow App Store or Play Store publishing. Paid plans start at $30/month. Annual billing reduces cost by approximately 20% — verify current rates at flutterflow.io/pricing as these can change.
Plan Breakdown
Common FlutterFlow Beginner Mistakes and How to Avoid Them
Most FlutterFlow beginners make the same set of mistakes. Knowing them in advance saves weeks of frustration — and avoids the need to rebuild from scratch.
Building Without a Data Model First
The most common beginner mistake is jumping straight into building screens before deciding on the data structure. FlutterFlow's canvas makes it tempting to start with what the app looks like rather than what data it needs to store and retrieve. Changing your Firestore schema after you've already wired 10 screens to it is painful. Spend the first hour designing your collections and fields on paper before touching the canvas.
Overcomplicating the First Version
Beginners consistently try to build too much in version one. A useful MVP is the smallest version of your app that lets real users do the core thing your product is about — nothing more. Every feature you add before launch is a feature that delays getting user feedback. The MVP development strategy guide applies to FlutterFlow projects just as much as it does to custom-coded apps.
Ignoring the Widget Tree
FlutterFlow's canvas can hide complexity in how widgets are nested. When your layout behaves unexpectedly — elements not aligning, overflow errors, scroll issues — the answer is almost always in the widget tree, not the visual canvas. Learning to read and restructure the widget tree early is the single biggest skill gap between FlutterFlow beginners who progress quickly and those who spend days fighting layout bugs.
Not Testing on Real Devices Early
FlutterFlow's browser preview is useful for quick checks but does not represent the real app experience. Font rendering, scroll performance, keyboard behaviour, and safe area handling all differ on actual hardware. Test on a real iOS and Android device within the first week of building — not at the end when you're almost ready to launch.
Skipping Custom Code Entirely
Some beginners treat FlutterFlow as a zero-code tool and avoid the custom code panel entirely. This limits what they can build unnecessarily. Custom Dart functions in FlutterFlow are often short — 10 to 30 lines — and handle cases the visual action editor cannot.
Learning to write basic Dart functions specifically for FlutterFlow use cases has a high payback for anyone building anything beyond a simple CRUD app. The low-code development guide covers where the line between no-code and low-code actually sits in practice.
Where to Learn FlutterFlow: Resources That Actually Work
One gap in most FlutterFlow guides is the absence of a clear learning path. The platform has a growing ecosystem of official and community resources — knowing which ones to use saves you from wasting hours on outdated tutorials.
Official Learning Resources
- FlutterFlow Documentation — docs.flutterflow.io is the authoritative reference for every feature. Start here when something isn't working as expected.
- FlutterFlow University — Built into the platform, FlutterFlow University offers structured video courses that cover the core features in sequence. Complete the first three modules before starting a real project.
- FlutterFlow YouTube Channel — Official tutorials covering new features, integrations, and common workflows. Subscribe for update walkthroughs when the platform releases major changes.
- FlutterFlow Templates — The built-in template library at flutterflow.io includes working examples of common app patterns. Use these as reference implementations, not just starting points.
Community and Peer Learning
- FlutterFlow Community (Discord) — The official Discord server has over 50,000 members. The #help channel answers most beginner questions within hours. Bookmark the #showcase channel to see what production apps look like.
- Reddit r/FlutterFlow — Real user discussions about edge cases, integrations, and platform limitations. Search before asking — most common questions have detailed answers.
- FlutterFlow Marketplace — Pre-built components and templates created by the community. Useful for avoiding rebuilds of common UI patterns.
- GitHub FlutterFlow Issues — If you're using custom code, the FlutterFlow GitHub repository documents known bugs and planned fixes.
When to Hire a FlutterFlow Developer Instead of Building Alone
Self-building in FlutterFlow is a legitimate path for validating an idea. But there are clear signals that bringing in a developer will save you more time and money than it costs — and recognising them early prevents expensive rebuilds.
Signs You Need Developer Help
Consider working with a FlutterFlow developer when any of the following apply:
- Your app requires custom native integrations (Bluetooth, NFC, background processing) that the visual editor cannot reach
- You have a launch deadline that solo learning cannot meet — learning FlutterFlow while building a real product simultaneously extends timelines significantly
- The app will handle real users and real data where security, performance, and reliability matter from day one
- Your business logic has complex conditional branches that become unmaintainable in the visual action editor
- You need App Store submission and compliance review — the submission process for iOS especially has requirements that first-time submitters routinely miss
- The app needs to scale beyond a single founder — multi-developer FlutterFlow workflows require coordination that solo builders don't anticipate
How TRT's FlutterFlow Team Works
TRT's FlutterFlow development team works with founders and product teams at every stage — from first screen to App Store launch. For teams building specifically for the GCC market, EdTech sector, or enterprise deployments, you can also hire FlutterFlow developers directly for dedicated project support. The decision between a freelancer and an agency comes down to scope complexity and post-launch support needs — the FlutterFlow agency vs freelancer guide covers that decision in detail.
What to Do Next: Your FlutterFlow Action Plan
FlutterFlow has made mobile app development accessible to a much wider group of builders than traditional coding ever allowed. The path from account creation to a working, testable app is now measured in days rather than months for most standard app categories. The ceiling on what you can build solo rises the more comfortable you get with custom Dart functions, data model design, and FlutterFlow's action system.
Here is the decision framework based on where you are right now:
- If you're validating an idea — start with the free plan, pick a template, and ship something testable within two weeks. Do not overbuild version one.
- If you're ready to launch — upgrade to the Standard plan ($30/month), run through the getting-started steps in order, and test on real devices before submitting to stores.
- If your app has hit a technical ceiling — bring in developer help for the specific problem rather than starting over. Most FlutterFlow bottlenecks are solvable with focused custom code.
- If you're building for production from day one — work with an experienced FlutterFlow team from the start. The architecture decisions made in the first two weeks affect everything that follows.
TRT's FlutterFlow team works with founders and product teams at every stage. Whether you're starting from scratch or stuck mid-build, the fastest next step is a direct conversation about your specific app.
Building with FlutterFlow? See our FlutterFlow development services or hire FlutterFlow developers, and learn how AI works in FlutterFlow.
Ready to Ship Your FlutterFlow App the Right Way?
TRT's FlutterFlow team handles architecture, custom integrations, and App Store submission — so you launch faster and with fewer rebuilds.